So, you have a PKI or access to certificates and want to encrypt SQL connections. Easy!
NOTE: We are not discussing encrypting the database or anything like that. Just the connection from the application (in this case the application is SQL Server Management Studio (SSMS) to the SQL server.
In my lab environment I have an Enterprise PKI consisting of an offline root and a subordinate issuing CA.
Creating the SQL Server certificate
In my lab my subordinate CA (or issuing CA) is on my DC. DON’T do that in production! First we need to open the Certificate Authority. This can be found in Administrative Tools.

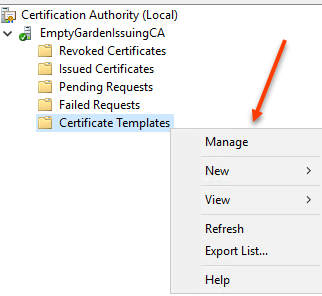
Once the Certificate Authority is open, right click Certificate Templates and select Manage
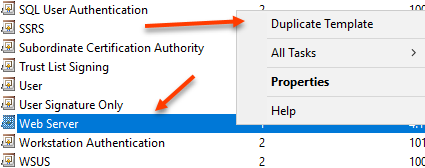
That will open the Certificate Template Console. Navigate to the Web Server certificate template, right click and select Duplicate Template
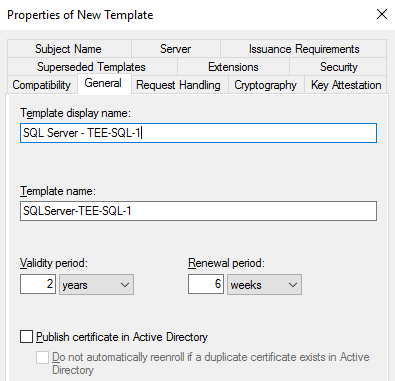
Provide a Template Display Name. You might also want to change the validity period and renewal period, but that is completely up to you and your organizational policies.
In this example I am naming my template SQL Server – TEE-SQL-1. You will not want to use the same cert for all your SQL servers. Thus, you can see I have a naming convention of “SQL Server – ” and then the SQL Server name, which in my case is TEE-SQL-1.
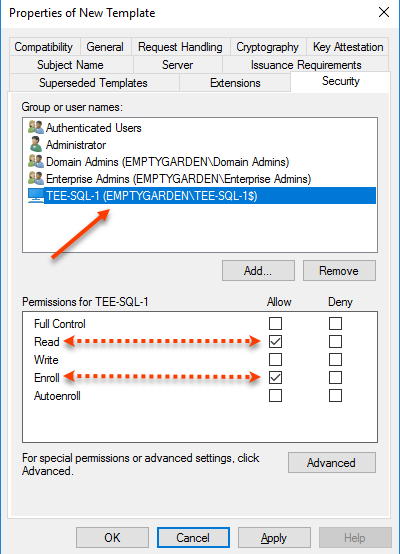
The only other step is to go to the Security tab and remove Enroll rights from whatever groups you want. Then add the machine name of the SQL server and give it Read and Enroll rights.
All set. Click OK to close and save the template
Close the Certificate Template Console
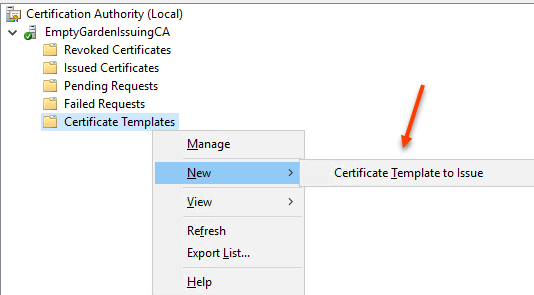
In the Certificate Authority, right click Certificate Templates and select New > Certificate Template to Issue. NOTE: You will need to wait for Active Directory to replicate the template in order to issue it.
Find the template you just created and select OK
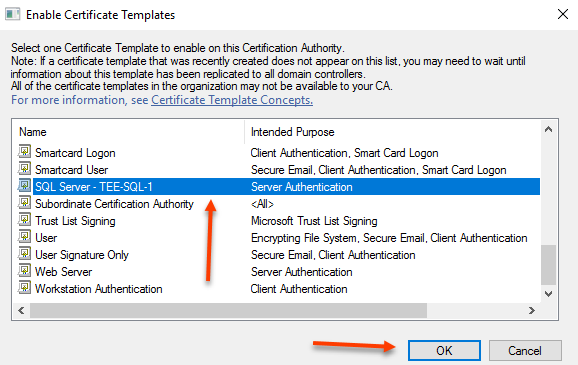
The SQL Server certificate has now been created and issued.
Install the certificate on the SQL server
On the SQL server that the certificate is to be used open an MMC. Select File > Add Remove Snap-In

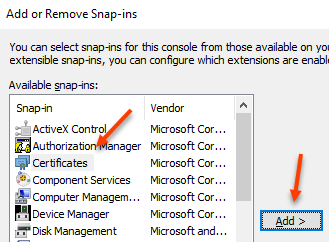
Select Certificates and click Add
Select Computer Account and click next
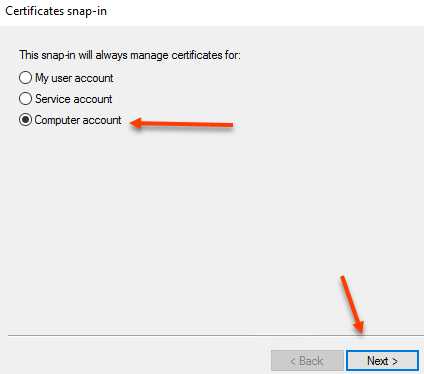
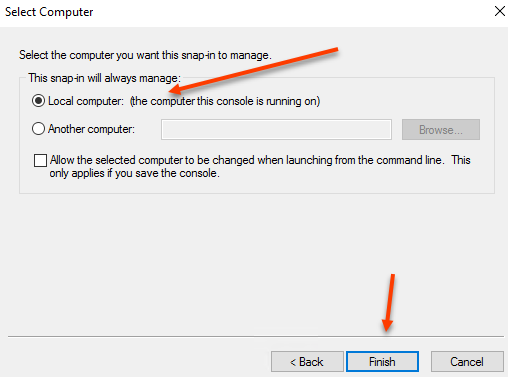
Select Local Computer and Finish
Click OK to close Add Remove Sanp-ins
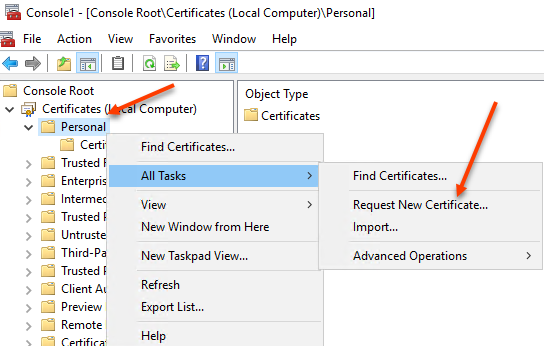
Expand Certificates (Local Computer) > Personal
Right click Personal and select All Tasks > Request New Certificate
Select Next and select Active Directory Enrollment Policy.
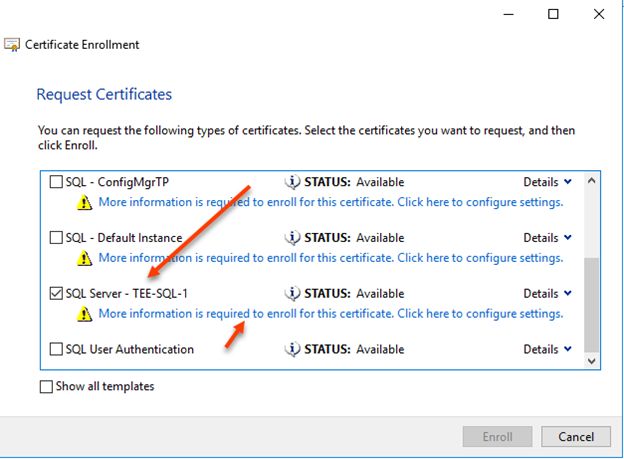
Find the certificate that was created previously and click on More information is required to enroll……
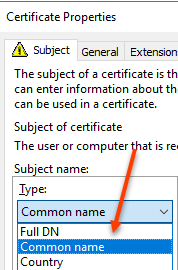
In the Subject Name select Common Name
Enter the FQDN of the SQL Server and select Add
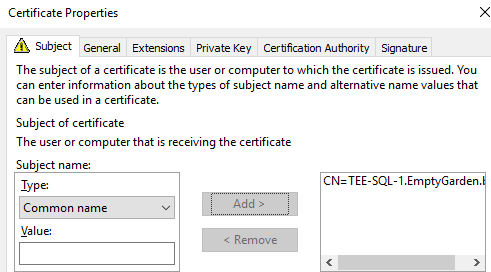
In the Alternative name select DNS
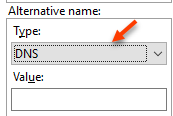
Enter both the FQDN and the Netbios name of the SQL Server. NOTE: If you have availability groups you will want to enter those names too.

Select the General tab and enter a friendly name. NOTE: without a friendly name certificates can be hard to find!
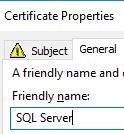
Select OK and Enroll
You should now see the certificate under Personal > Certificates

But wait…..there’s more! Security…..
If you were to try and configure SQL Server to use the cert at this point, it wouldn’t show up. Unless you are running SQL as local system, in which case you can close this article. You have bigger things to worry about!!
We need to give the SQL Server service account rights to read the certificate.
To find out what account SQL server is running under open SQL Server Configuration Manger and select SQL Server Services
In my case I am running SQL Server under an AD Group Managed Service Account named gmsaSQLServer$
Return to the Certificates MMC and right click the certificate and select properties.

Add the account that is running the SQL services and provide it read permissions.
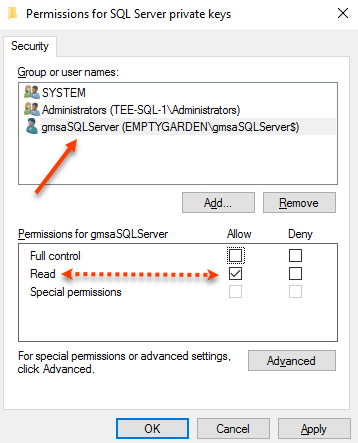
You have now enrolled the SQL Server certificate and given the SQL Server service account rights to read it.
Using PowerShell to install and configure the certificate
That last section had a lot of steps. There must be an easier way!
The following PowerShell script will do the same as above.
$UserName
=
“EmptyGarden\gMSASqlServer$”
$permission
=
“read”
$Cert
=
Get-Certificate
-Template
SQLServer-TEE-SQL-1
-SubjectName
“CN=TEE-SQL-1.EmptyGarden.btls” `
-CertStoreLocation
Cert:\LocalMachine\My `
-DnsName
“TEE-SQL-1.EmptyGarden.btls”, “TEE-SQL-1”
$rule
=
new-object
security.accesscontrol.filesystemaccessrule
$userName, $permission,
allow
$root
=
“c:\programdata\microsoft\crypto\rsa\machinekeys”
$keyname
=
$cert.Certificate.PrivateKey.CspKeyContainerInfo.UniqueKeyContainerName
$p
=
[io.path]::combine($root, $keyname)
if ([io.file]::exists($p))
{
$acl
=
get-acl
-path
$p
$acl.addaccessrule($rule)
set-acl
$p
$acl
}
$cert
=
$cert.Certificate.FriendlyName =
“SQL Server”
Configure SQL Server to use the certificate
Open SQL Server Configuration Manager and select SQL Server Network Configuration > Protocols for MSSQLServer.
NOTE: On my SQL Server I have two instances. One is the Default (MSSQLServer) and the other is a Named Instance (CONFIGMGRTP)
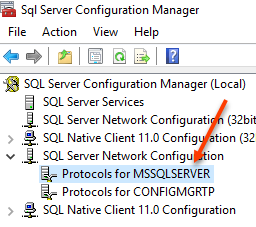
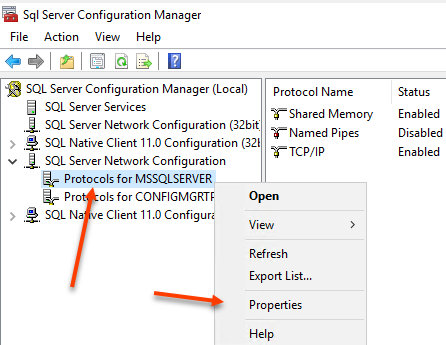
Right click Protocols for MSSQLServer and select Properties
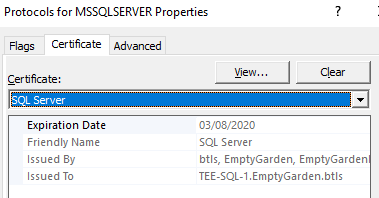
Select the Certificate tab and find the friendly name of your certificate
Select OK. You will be prompted to restart the SQL services. The services need to be restarted for SQL Server to bind to the cert.
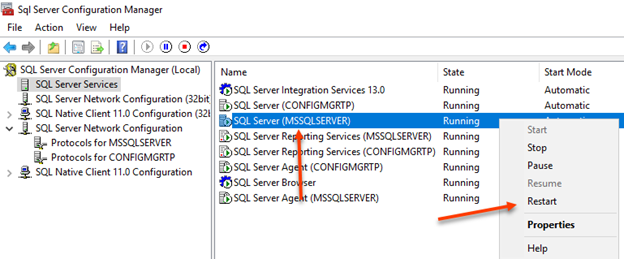
Once the SQL services are back to running open SSMS
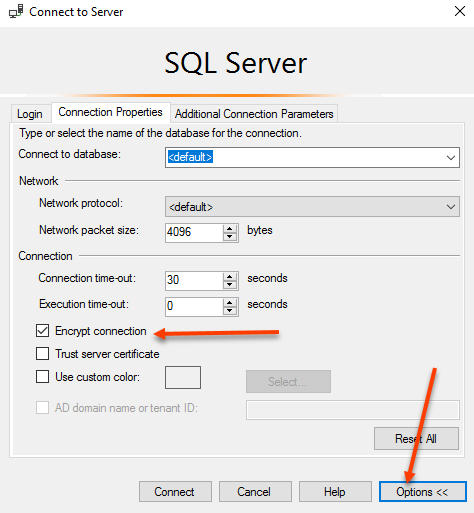
Connect to the NETBIOS name of the SQL server, select Options and select Encrypt connection. Click connect
Run the following query:
SELECT
@@SERVERNAME
AS instance, encrypt_option
FROM
sys.dm_exec_connections
WHERE session_id =
@@spid

You have now enabled the ability for encrypted connections to SQL Server
